


Hello folks 😎, today i want to write about how to deploy & react app to hosting platform Netlify. Deploying React apps are very easy on Netlify. Here are the process you want to follow & setup your react app in less the 60 seconds.
First you have to install react app on you machine by following steps. You can get a React project up and running with a few commands.
Create a new free account on Netlify if you don't have one.
Open your terminal and enter the following:
# This command install create-react-app globally on machine
npm install -g create-react-app
# Create new react app by running following command
create-react-app hello-world
# Change directory to app
cd hello-world
# Start react app by running
npm start
now your react app is start on localhost: 3000. To deploy react app we have make our app ready for deployment by running build command. This build command create and minify a single package of our project file for deployment.
npm run build
If you already setup react project then only use following command to install Netlify CLI.
To install Netlify CLI, make sure you have Node.js version 8 or higher, then run this command from any directory in your terminal:
npm install netlify-cli -g
This will install Netlify CLI globally, so you can run netlify commands from any directory. You can check the version and find out some basic information about the tool with the following command:
netlify
Now to deploy project run this command in command prompt or terminal.
netlify deploy
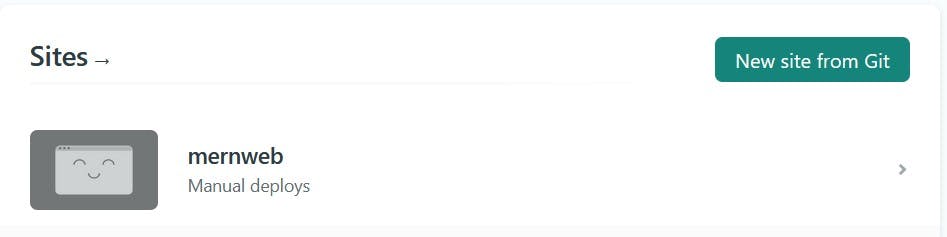
This command create new project in netlify account and upload all your dependencies created by npm run build command. That's it your project is deployed to netlify. To check go to netlify dashboard, under sites you will see all your deployed site, open it you find url of your site on this page.
Or if you are not familiar with command line. Then go to Netlify dashboard for upload manually.
If you have Git installed on your machine create a repo and push this project to Github, Bitbucket or Gitlab which ever you use.
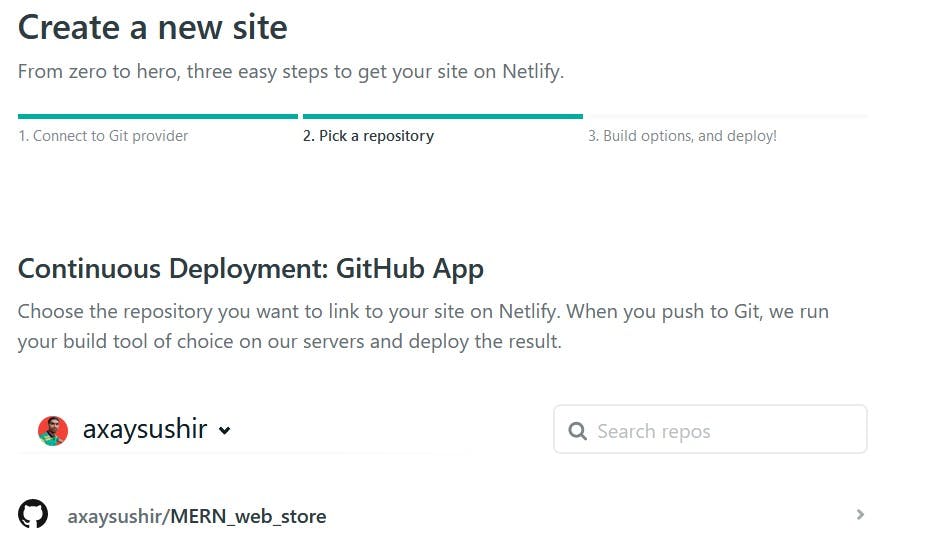
Go to netlify dashboard then create new project in Netlify. There is option to connect Git repository, click new site from git.
You can select any Github, Gitlab, Bitbucket. Then it ask for authorization form Git accounts you use.
Then find and connect your repository and select next for uploading. Netlify do that automatically & your app is running now.
if you have to enter environment variables then go to setting of the project and enter environment variables for your app.
If you choose to use something for routing (like React Router for example), you will need to set up a redirect and rewrite rule for the single page app.
That redirect rule would look like this:
/* /index.html 200
That's it your app deployed to netlify using this easy steps if everything goes well. If you like this article then let me know on Twitter or comment below.